
Stride Rite
Soft Motion Artie First Walker
high-top sneaker · hook-and-loop strap; elastic laces
Amazon link availableBuying guide
Improve the morning shoe routine with 11 easy-on features covering access, guidance, closure, grip points, visibility, fit, and repeatable practice.
An easy-on shoe is not simply one that comes off quickly. The successful morning sequence has four parts: the child or caregiver can identify the correct shoe, open it fully, place the foot without folded fabric, and secure it well enough for the day. Watch the current routine once without correcting it. Notice where time disappears. Does the child mix up left and right, miss a hidden tongue, fight a narrow opening, or fasten a strap with barely any overlap? The eleven features below target different friction points, so buying all of them is unnecessary. Select the feature that addresses the observed step while preserving fit. Independence can be encouraged, but an adult remains responsible for confirming heel position, closure security, and comfort before leaving. Repeat the observation with each regular caregiver because an obstacle may belong to hand position, storage, or teaching rather than the footwear. When two people struggle at different stages, a clearer design can help, but reorganizing the doorway may solve the faster problem first.
Feature 1 is visual clarity. Contrasting lining, a recognizable tongue, or a simple opening can show the child where the foot goes. Decorative layers that hide the entry may slow practice. Feature 2 is usable spread. A zipper, strap, or elastic section should open enough for the heel to pass without crushing the collar. Test this with the child's actual instep and planned socks, not an empty shoe. A very wide throat that never closes securely is not a success. Watch whether the child can keep the opening expanded while placing the foot; if not, choose a design that an adult can stage with one hand during rushed departures.
Feature 3 is a heel pull point sized and positioned for the person using it. A loop can help guide the rear of the shoe, but it should not be the only way to force a reluctant foot through a tight opening. Feature 4 is a tongue that stays accessible and lies flat. Gusseting, tabs, or a one-piece upper may reduce the chance that fabric disappears under the foot. During practice, open every closure first, hold the tongue, seat the heel, and release only after the foot is placed. Inspect inside for folds. These small construction details often matter more to morning speed than broad advertising language about hands-free or easy entry.
Feature 5 is a closure with an obvious action: press a strap, pull a zipper, tie laces, or step into a specifically designed hands-free structure. Multiple operations may be appropriate when they provide needed control, but they require more practice. Feature 6 is adjustment after entry. Hook-and-loop overlap, elastic tension, laces, or another mechanism should finish with secure heel hold and no pressure across the instep. Slip-on convenience is incomplete if the shoe shifts during turns. Choose the simplest mechanism that still fits this foot. For daycare, confirm whether staff will refasten it and whether the center accepts the style.
Feature 7 is a reachable place for small hands to hold. Pull tabs, strap ends, and zipper pulls should be easy to find without requiring a strong pinch. Observe the child rather than judging from product photos. Feature 8 is left-right orientation. Insoles that form a picture, color cues, or a small household label can reduce reversal, provided nothing placed inside creates irritation. Teach one consistent method instead of changing cues every morning. These features support learning but do not certify the final fit. After the child finishes, an adult should check that heels are seated, tongues are flat, straps are attached securely, and the shoes are on the correct feet.
Feature 9 is access that tolerates ordinary variation in sock placement and foot angle without forcing. Feature 10 is stable on-foot hold once the entry work is over. Feature 11 is repeatability: the same process works for another caregiver and after routine interruptions. Run a three-morning test indoors or on clean surfaces. Time is less important than the number of failed starts, folded components, and adult rescues. A design is genuinely easy when it reduces errors while remaining secure. Avoid calling a loose oversized pair convenient; extra length can create movement and place the shoe's bend in the wrong location. Measure first and preserve the brand's intended fit.
Use the observation from the current pair to write a five-step script in language the household can repeat. For example: match the picture, open the strap, hold the tongue, push heel down, press strap flat. Compare candidate shoes by how many steps they remove or clarify. If a new feature adds an unfamiliar motion, plan low-pressure practice rather than expecting instant independence at departure time. Store shoes open, together, and within reach when appropriate. Keep socks nearby and remove pebbles or curled insoles the night before. Product design can reduce friction, but storage and teaching often solve more of the rush than replacing a well-fitting shoe.
Reviewed model starting points
These model families link to Amazon listings. Check the selected size, width and color because availability and features can vary.
Stride Rite
high-top sneaker · hook-and-loop strap; elastic laces
Amazon link available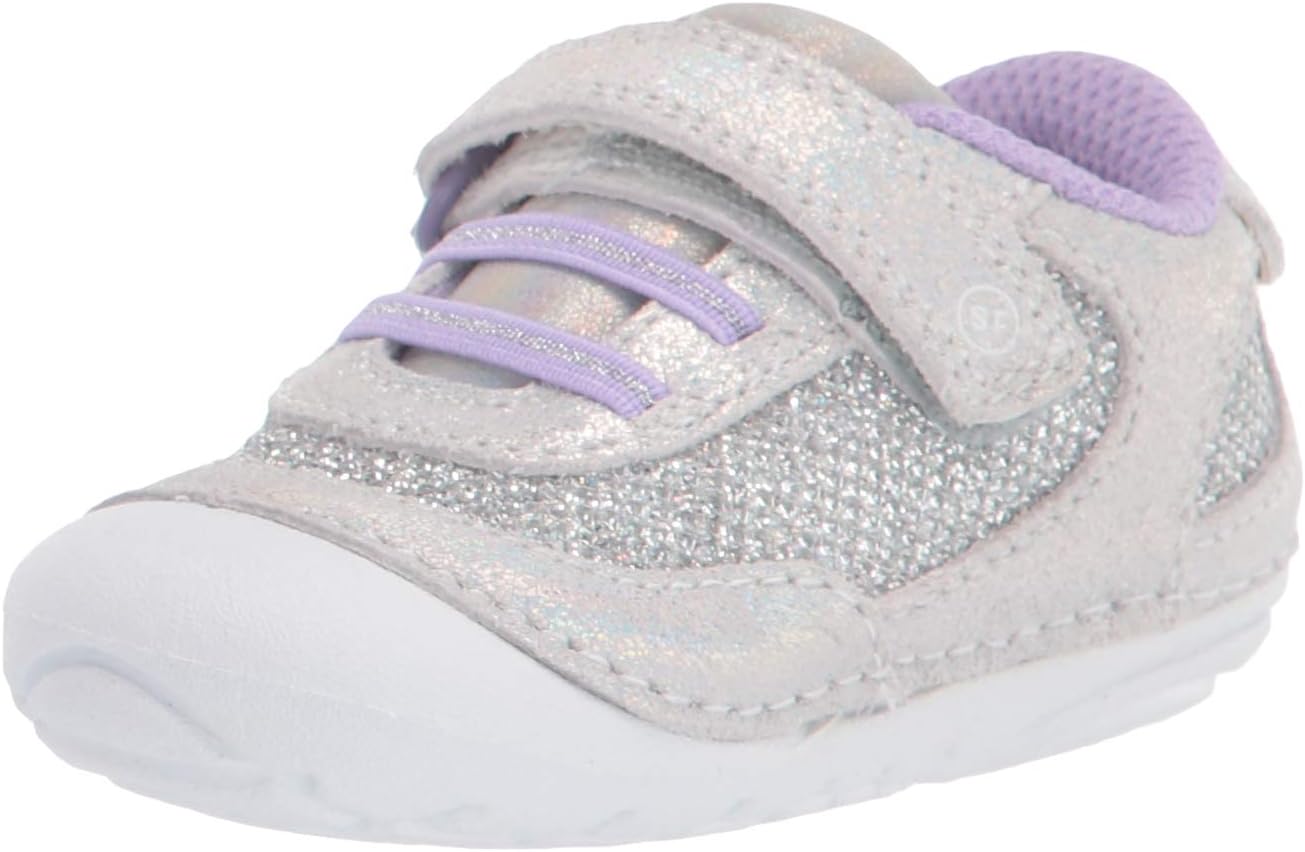
Stride Rite
sneaker · hook-and-loop strap; elastic laces
Amazon link available
Stride Rite
sneaker · hook-and-loop strap
Amazon link availableIt depends on hand skill, opening shape, and fit. A clear hook-and-loop strap is common, while some children manage slip-ons or zippers better. Observe the exact task.
No. A narrow throat, hidden tongue, or loose heel can create new problems. Entry should be simple and should end with secure retention during ordinary movement.
No. A pull tab is a grip point. A hands-free claim describes a specific entry construction and should be verified on the named model.
Use one short sequence, practice when nobody is rushing, and keep orientation cues consistent. Let the child attempt the steps, then have an adult verify final placement and fastening.