
Crocs
Toddler Classic Clog
clog · pivoting heel strap
Amazon link availableToddler shoe guide
Plan toddler beach shoes for loose sand, shell-strewn approaches, wet edges and boardwalk stops with a zone-by-zone itinerary and shakeout routine.
Choose toddler beach shoes around the day’s zones: loose dry sand favors easy sand release, shell-strewn approaches increase the value of coverage, wet edges require a secure damp fit, and boardwalk stops add repeated transitions. One pair may cover the whole itinerary, or a dry backup may be simpler. The deciding question is how the shoe handles each change without trapping debris or becoming difficult to manage.
Before browsing, sketch the trip from the car to the water. A common sequence might be boardwalk, dry sand, a band of shells, then wet packed sand. Another beach may replace the boardwalk with a gravel path or stairs. Note where the toddler will walk, be carried, remove shoes and put them back on. This itinerary shows whether the footwear must manage every zone or only the approach and shoreline.
Add the day’s non-footwear constraints: how much gear one adult carries, whether shade is nearby, where rinsing is available and whether the child tolerates frequent changes. A theoretically ideal two-pair system can fail if no one has a free hand to manage it. Conversely, asking one saturated pair to serve a later restaurant stop can make a dry backup worthwhile. The correct plan comes from the sequence, not a universal beach ranking.
Loose sand enters through openings, clings to damp fabric and settles beneath removable footbeds. Examine likely entry points around the collar, mesh and closure, then consider how quickly the shoe can be emptied without a complete refit. Very open construction may release grains easily but admit them just as easily. More enclosed construction may slow entry yet hold what gets inside. The useful question is which pattern is easier to interrupt during this particular walk.
Plan a sand pause before discomfort starts. Move to a stable spot, remove one shoe at a time, shake it out, inspect the lining and wipe the foot before refastening. Do not ignore repeated stops as toddler fussiness; trapped grains can create concentrated rubbing. If the itinerary crosses a long dry stretch, decide in advance whether the child will wear the pair, go barefoot only where appropriate and permitted, or be carried through part of the zone.
Shell fragments and rough access paths shift attention toward the amount and placement of coverage. Look at the toe area, side openings and sole rather than relying on a “closed-toe” label alone. A closed front with large side gaps behaves differently from a more continuous upper, and a sole’s thickness does not reveal whether it bends in a comfortable place for the child. Compare observable construction with the actual approach pictured or described by the beach authority.
Coverage does not create a guarantee against sharp objects, and footwear is not permission to enter a visibly hazardous area. Choose a clearer route when available, supervise each transition and inspect the path ahead. After the shell band, stop where the child can stand steadily and check whether fragments entered through openings. This page’s role is to organize the tradeoff between coverage and debris release, not to declare any design puncture-proof.
At the water’s edge, a shoe can gain weight, soften or allow the foot to move differently. Before the trip, use a maker-approved damp trial to learn whether the closure remains stable and the heel stays centered. At the beach, recheck after the first few minutes rather than waiting until the return walk. A toddler who suddenly shortens steps, pulls at the shoe or asks to be carried may be signaling debris or a changed fit.
Drainage and sand release can compete. Openings that let water escape may also admit fine material, while a close-fitting collar may reduce entry but make removal harder. Record which issue actually appears instead of treating either construction as inherently superior. If the shoe needs frequent emptying, choose a consistent place for the task and keep a small rinse container or towel available if local rules and facilities allow.
The return route often receives less planning than the waterline. A boardwalk or paved path can expose a wet shoe to a different surface and add a café, restroom or vehicle transition. Do not make claims about surface temperature based on appearance; conditions change with weather, material and time. Follow posted guidance, check the environment directly in an appropriate way, and avoid assuming footwear makes a visibly uncomfortable route suitable.
Decide whether the wet pair stays on, is rinsed and replaced with a dry pair, or travels in a dedicated pouch. The answer depends on distance, available seating, venue rules and the child’s fit in each option. If changing shoes, dry the feet enough to prevent a damp, sandy transfer into the backup. Fit that backup beforehand with the socks or bare-foot configuration planned for the boardwalk segment.
A one-pair itinerary works when the shoe fits securely wet and dry, releases the beach’s typical debris without constant stops, meets the access-route needs and can be stored after use. Pack the shoes where they are easy to reach, plus a cloth, a container or bag for the damp pair, and any maker-approved care item required after the trip. The advantage is fewer transitions; the compromise is asking one construction to handle every zone.
A two-pair itinerary separates the water segment from the dry approach or post-beach stop. Label each role so the backup does not accidentally become the shell-zone pair. The extra pair adds luggage and a changing task, but it can preserve a dry option for the ride home. Choose between the plans by counting real changes and carrying demands, not by assuming that more footwear is always more prepared.
At the final rinse point, follow the shoe’s care directions, open every closure and remove only components intended to come out. Check seams, footbeds and drainage openings for grains or fragments. Let the pair dry as directed before sealing it in long-term storage. Inspect both feet after cleaning them; persistent discomfort, broken skin or a continuing walking change is not a problem to solve by tightening the next pair.
Save one short route note for future outings: “long loose-sand walk, narrow shell band, wet edge, boardwalk lunch.” Add whether debris entered, where a change was difficult, and whether the backup was used. Then browse the toddler beach-shoes collection using those observations. The result is a terrain-based shortlist tied to a real itinerary, with no need for an unsupported best-product claim.
Reviewed model starting points
These model families link to Amazon listings. Check the selected size, width and color because availability and features can vary.
Crocs
clog · pivoting heel strap
Amazon link available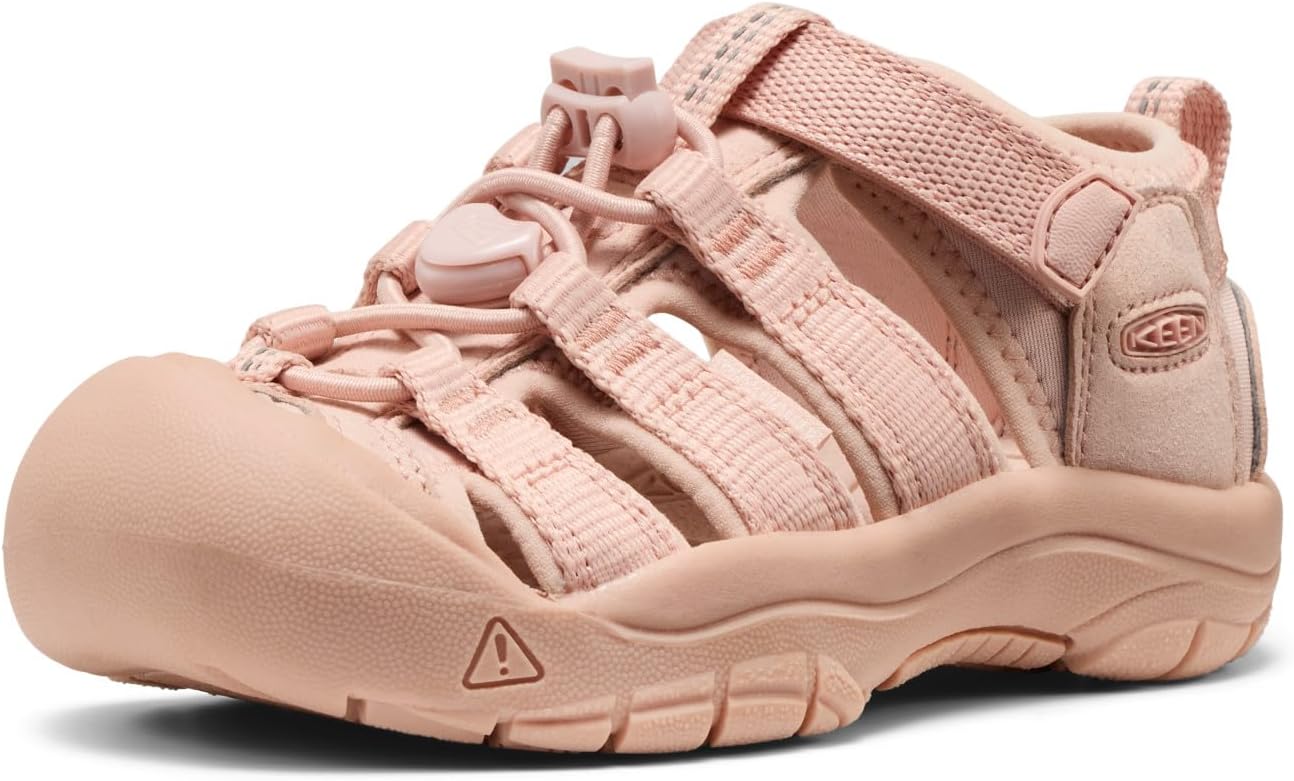
KEEN
closed-toe sport sandal · bungee laces; hook-and-loop strap
Amazon link available
KEEN
closed-toe sport sandal · bungee laces; hook-and-loop strap
Amazon link availableThat depends on local conditions, rules, the route and the child. Map where the toddler will walk, inspect the area, and use footwear when coverage or the planned transition calls for it. Shoes do not make a hazardous area safe.
A closed front adds coverage, but side openings, sole construction, fit and the actual shell zone still matter. It does not provide a puncture guarantee. Prefer a clearer route and check inside the shoes after crossing debris.
Choose planned shakeout points, remove one shoe at a time on a stable surface, clear the lining and foot, then refasten. Compare designs by how sand enters and releases rather than expecting any pair to exclude every grain.
A dry backup can help when the itinerary includes a long dry route, vehicle ride or indoor stop after the water. Balance that benefit against the extra carrying and changing steps, and fit the backup for its exact sock setup.