
Crocs
Toddler Classic Clog
clog · pivoting heel strap
Amazon link availableToddler shoe guide
Inspect a toddler water shoe's drainage route, upper openings, interior, closure and debris tradeoffs before a wet outing.
Inspect a toddler water shoe as one connected system. Trace where water can enter, where it can leave, what layers may hold moisture, and whether the closure remains easy to operate without relying on extreme tension. Then look for recesses, seams or openings that may collect debris. This inspection does not prove drying speed, wet grip or performance in every setting; it helps identify questions that the exact product information and a careful first use still need to answer.
Hold the unworn shoe over a light-colored surface and find every visible opening. Start at the collar, move around the upper and finish at the sole. Note whether each opening leads straight into the interior, into a lined layer or only through an outer panel. The aim is not to count holes. It is to understand whether water has a continuous path or reaches material that may need separate drying time.
Sketch a simple entry-and-exit map in the shopping notes. Use arrows for the collar, mesh zones, side cutouts, footbed channels and sole ports that can actually be seen. Put a question mark beside any area hidden by a lining or fixed insole. This prevents the word drainage from becoming a substitute for observation and makes it easier to compare two shoes built in different ways.
Mesh is a woven or knitted area with many small spaces. Perforations are holes placed through a panel. Open panels expose larger sections between straps or structural pieces. These forms may all allow water and air to move, but they also create different paths for fine sand, small stones and other debris. Do not label one superior without tying it to the planned setting and the rest of the shoe.
Gently flex the unworn upper in your hands and observe whether an opening changes shape, reveals a second layer or presses an edge inward. Feel the interior with a fingertip for exposed joins, folded material or ridges around the openings. This is a pre-use inspection, not a claim that a seam will cause discomfort. It identifies areas to watch during the indoor fitting and supervised first outing.
Look down into the shoe with the closure fully open. A removable footbed can be lifted only if the maker intends it to come out; do not pry up a fixed layer. Examine visible grooves, low points and holes, then turn the shoe over to see whether any apparent port continues through the outsole. A recess that looks like a drain from above may be decorative or closed below.
Also ask where loose material could settle. Deep channels may be easy to see but awkward to wipe, while a smooth interior may be simpler to rinse yet offer fewer obvious exit paths. The inspection cannot calculate how quickly a shoe will dry. It can tell the caregiver which layers and cavities need to be checked after use and whether the stated care directions make sense for the household routine.
Open and close the fastening several times while the shoe is clean and dry. Follow the mechanism through its full intended range. A hook-and-loop tab should have usable overlap without being pulled to an extreme; a toggle should move according to its instructions; a heel strap should sit in its designed position. If a closure twists, folds an upper edge or leaves the foot entry too narrow, record that before fitting.
Next, place the shoe on the measured foot with the planned bare-foot or sock setup. The closure's job is to retain an already appropriate shape, not squeeze excess length or width into submission. Check heel movement, forefoot pressure and whether the toddler can stand and turn normally indoors. The wet-use routine will be harder, not easier, if fastening is confusing during a calm dry practice.
Before introducing water, read the care directions for the exact pair. If rinsing is permitted, plan where the shoe will be opened, cleared of loose debris and placed to dry. A sink, hose or beach shower is useful only when the closure can be released and the visible channels can be reached without damaging the construction. Do not apply heat, machine cycles or cleaning products unless the instructions allow them.
This rehearsal is about workflow rather than timing performance. Write down who will remove the shoe, where a wet pair will travel and whether a backup is needed before the next wear. Avoid announcing that a shoe is quick-drying after one household trial; temperature, airflow, saturation and materials can change the result. The practical output is a repeatable cleanup route and a list of parts to recheck.
Every opening works in two directions. A path that lets water leave may also admit sand, mulch or small gravel. Fine mesh can reduce the size of material entering through one zone while larger gaps around the collar remain. Closed toes can cover the front yet retain grit that arrives elsewhere. Map the dominant debris at the destination instead of chasing the shoe with the greatest number of vents.
Create two columns labeled easier to enter and easier to remove. Add each visible opening, recess and removable component to one or both columns. The exercise makes tradeoffs visible without pretending to forecast the child's entire day. For coverage choices, move to the closed-toe versus open-toe guide; this page remains focused on the internal route and fastening mechanics.
Record five lines before keeping the pair: visible entry points, confirmed exit paths, moisture-holding layers to monitor, closure steps and debris traps. Add the facility's footwear rule and the manufacturer's care instruction source. Leave any uncertain construction blank rather than guessing from a photo or a broad label such as mesh water shoe.
Finish by checking both feet indoors and scheduling a short, supervised first use in the intended setting. Stop and reassess if the shoe comes loose, the closure changes position, debris causes discomfort or the toddler's movement changes. The toddler water-shoes collection can supply category candidates, but only items with clearly verified construction should be promoted as examples of a particular drainage or closure design.
Reviewed model starting points
These model families link to Amazon listings. Check the selected size, width and color because availability and features can vary.
Crocs
clog · pivoting heel strap
Amazon link available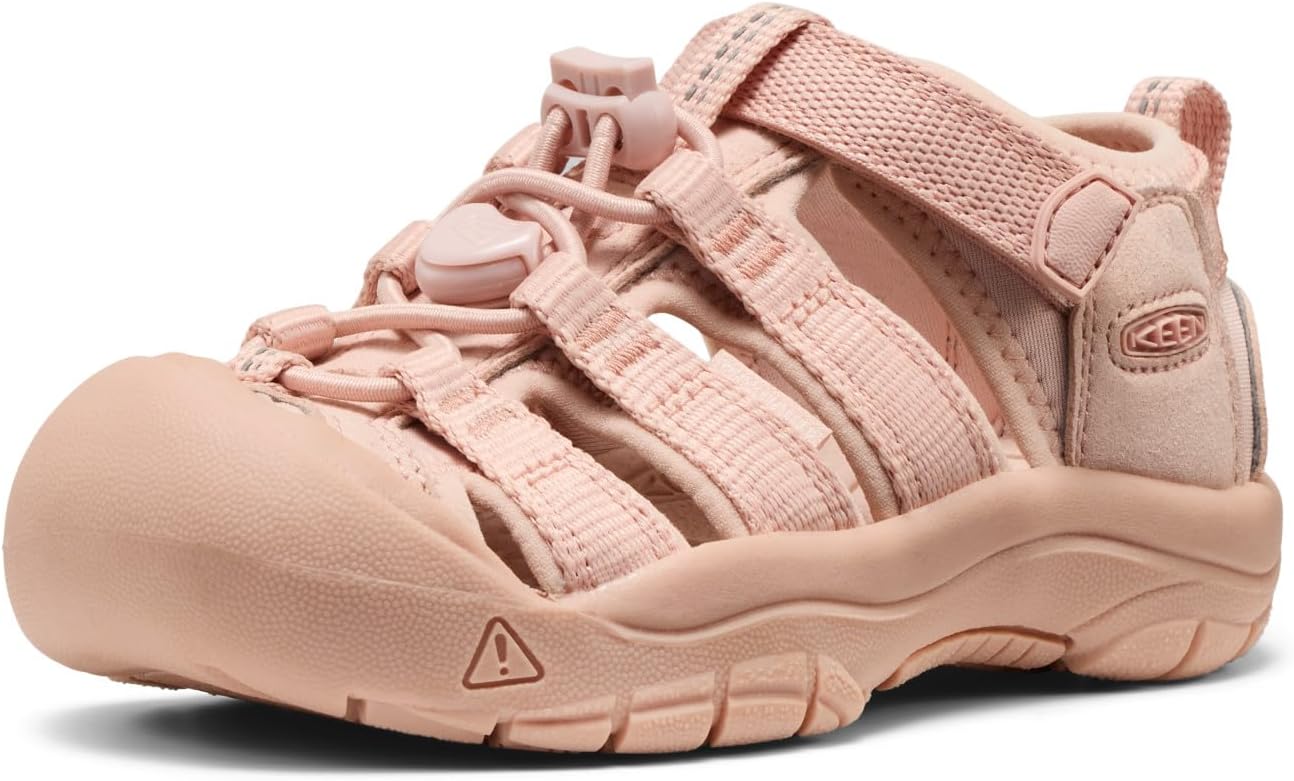
KEEN
closed-toe sport sandal · bungee laces; hook-and-loop strap
Amazon link available
KEEN
closed-toe sport sandal · bungee laces; hook-and-loop strap
Amazon link availableNo. Mesh describes one part of the upper. Linings, footbeds, channels, sole ports and conditions all affect what happens to water.
Do not assume so from the top view. Inspect both sides and use the exact product information to confirm whether a visible recess is a continuous port.
Ease depends on the child's hand skills and the design's opening. Practice the full dry sequence and prioritize secure fit over a closure label.
Follow the exact maker's care directions. Avoid unapproved heat or machine methods because they may change materials or construction.