
Crocs
Toddler Classic Clog
clog · pivoting heel strap
Amazon link availableCare & Maintenance
Dry wet toddler shoes with a material-aware air-drying workflow, removable-part checks, absorbent changes and a before-wear inspection.
To dry wet toddler shoes, first follow the exact model's care directions. Remove loose debris, open the closures, take out removable insoles or laces only when permitted, blot moisture and place the shoes in moving room-temperature air. Replace loosely inserted plain absorbent paper as it becomes damp. Avoid a dryer, radiator, hair dryer or other heat unless the manufacturer expressly allows it.
Decide whether the problem is clean rainwater, mud, salt, sand, a soaked lining or a spill that needs more than drying. Drying dirt in place can set up a harder cleanup, while soaking a shoe again without checking care instructions can damage materials. Remove stones and loose grit outside. Blot standing water with a clean, colorfast cloth. If the pair contacted a substance that requires special handling, follow the maker's cleaning guidance before moving to the ordinary drying routine.
Inspect condition before investing time. Look for a separated sole edge, torn lining, cracked shell, failed light module, damaged closure or distorted insole. Wetness can make existing damage more visible. Do not assume drying will restore a shoe that has structurally changed. Photograph unexpected damage when a manufacturer or seller may need to advise. Set wet socks apart from the shoes so moisture is not transferred back into the lining.
Find the model-level directions on the label, packaging or manufacturer's current page. Identify upper, lining and outsole materials; a mesh-looking shoe may include leather trim, adhesive overlays, waterproof components or electronics that change the method. Note whether insoles and laces are designed to be removed, whether machine washing is allowed and what the drying restriction actually says. “Air dry” is an instruction, while an absent dryer instruction is not permission to improvise heat.
Create two branches. If the maker supplies detailed directions, follow them exactly. If directions are missing, use the gentlest conservative path: minimal additional water, no unapproved cleaner, no forced heat and ample room-temperature ventilation. Contact the maker for valuable or complex constructions. A general internet trick should not outrank the people who know how the exact shoe was assembled.
Open hook-and-loop tabs, loosen laces and lift the tongue so air can enter. Remove an insole only if it is designed for removal; glued or integrated footbeds should stay in place. Keep left and right pieces organized and photograph how a shaped insert sits before lifting it. Do not pry, bend heel counters backward or force a waterproof tongue farther than its gusset allows. Creating access should not change the shoe's construction.
Blot removable parts separately. Laces can retain water where they cross, and an insole can stay wet underneath even when its top feels dry. If paper is permitted as an aid, use plain absorbent paper loosely enough that air and the original shape are not displaced. Avoid printed paper that might transfer ink and do not pack the toe into a stretched position. The paper's job is to receive moisture, not to become a new last.
Choose a ventilated indoor location away from a radiator, fireplace, direct high heat, a hot vehicle or a place where a toddler can handle wet shoes. Place the pair on a tray or rack that allows air around the opening rather than sealing it in a bag or closed cupboard. A room fan may improve air movement when positioned safely and used within the product's care limits; it should circulate ambient air, not supply heat. Keep shoes away from food preparation and pet access.
Angle openings toward the moving air and separate removable components so their surfaces are exposed. Rotate the pair later if one side remains sheltered. Replace damp absorbent paper with dry paper instead of leaving a saturated wad in the toe. There is no reliable universal drying time: construction, saturation, humidity and airflow vary. Plan around a condition check, not a countdown.
Use clean, dry hands to check the deepest toe area, beneath any removable insole, around the heel lining, under the tongue and along padded collars. Compare the two shoes; one may have received more water. Feel for cool dampness and press a dry cloth briefly against suspect areas. Do not rely on the outsole or upper surface, which often dry first. Odor covered by fragrance is not proof of dryness.
If the inner layers remain damp, return the shoe to the airflow station and repeat the check later. Reinstall an insole only when both the shoe interior and the piece are dry according to the care guidance. A damp insole placed into a nearly dry shoe resets the problem. For boots, reach as far into the shaft and toe as the design safely permits because tall shells can conceal moist lower linings.
Suppose the daycare pair comes home wet at 6 p.m. and must leave again at 7:30 a.m. Do not decide at bedtime that it will be ready. Start care immediately, use the approved airflow setup, and prepare the verified dry backup. In the morning, inspect the hidden zones. If any remain damp or components have not returned to their intended position, use the backup rather than applying emergency heat or sending the child in wet footwear.
This scenario reveals why drying is partly a rotation problem. A second general-purpose pair can be more useful than a rarely used specialist because it protects the drying window. Tell all caregivers which pair is recovering and place it outside the ordinary grab zone. The backup needs its own current fit check; “dry” is not enough if it was last worn months ago.
When every component is dry, lay removable insoles flat in their intended orientation, thread laces without twists and cycle each closure. Confirm the lining has not folded, the upper retains its shape and the outsole has no slippery cleaner residue. Press gently along the sole edge and inspect existing seams. A warped, shrunken, rough or delaminated shoe should not return to use merely because it no longer feels wet. Seek manufacturer advice or replace it when function has changed.
Have the child wear the rebuilt pair briefly indoors with normal socks. Watch ordinary steps and ask about any new roughness. Remove the shoes and inspect socks and feet. Then record what caused the soaking and how long recovery took. If the same schedule recurs, change the prevention plan: weather pair, backup at daycare, earlier cleaning or a more appropriate model. The fastest safe drying method is often avoiding a last-minute requirement for that exact pair.
Reviewed model starting points
These model families link to Amazon listings. Check the selected size, width and color because availability and features can vary.
Crocs
clog · pivoting heel strap
Amazon link available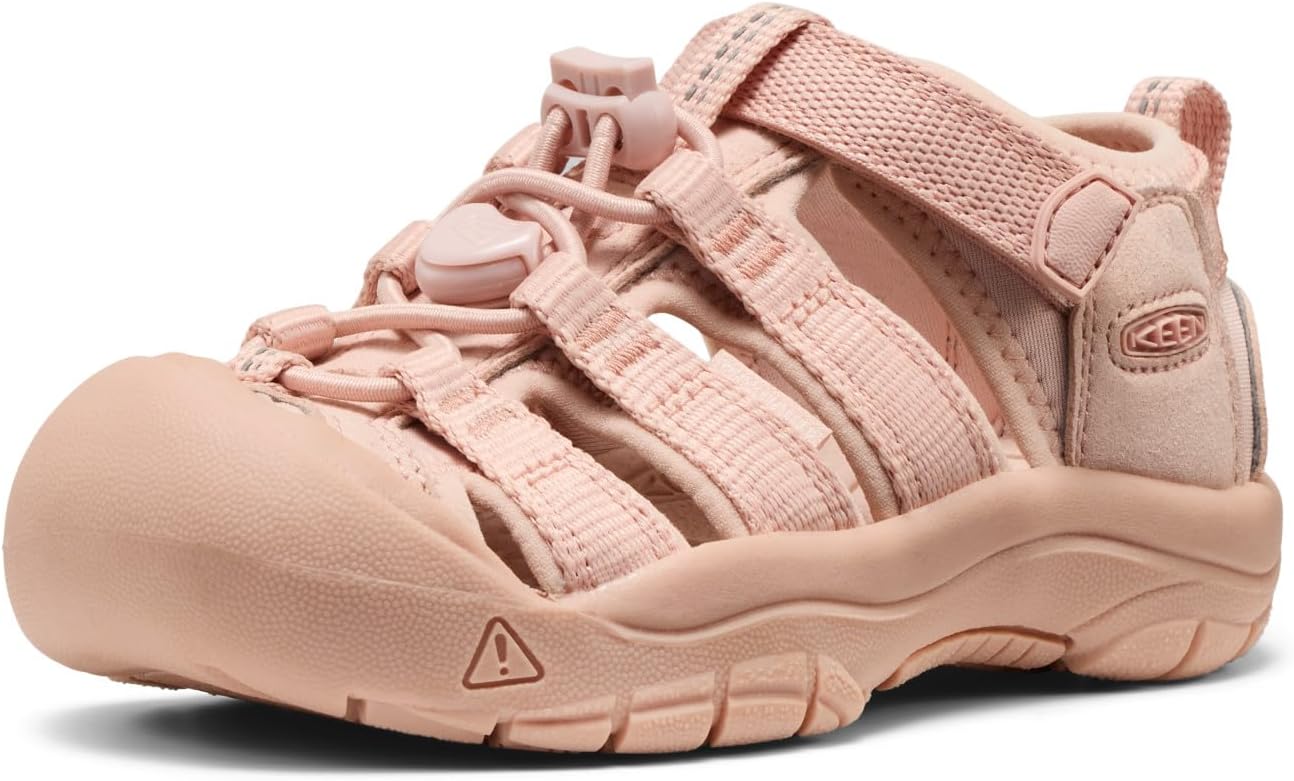
KEEN
closed-toe sport sandal · bungee laces; hook-and-loop strap
Amazon link available
KEEN
closed-toe sport sandal · bungee laces; hook-and-loop strap
Amazon link availableOnly when the exact manufacturer's directions expressly permit it. Dryer heat and tumbling can affect shape, adhesives, coatings or components, so air drying is the conservative default when permission is absent.
Plain absorbent paper may help when used loosely and changed as it dampens, but printed paper can transfer ink and tight packing can distort shape. Follow the shoe's care instructions first.
Check the deepest toe, heel padding, tongue, collar and the space beneath removable parts with clean, dry hands or a dry cloth. The exterior can finish first, so compare hidden zones before rebuilding the shoe.
Use a dry, currently fitting backup instead of forcing the process with unapproved heat. Keep the wet pair in its approved airflow setup and return it to use only after the interior and all components are dry and sound.